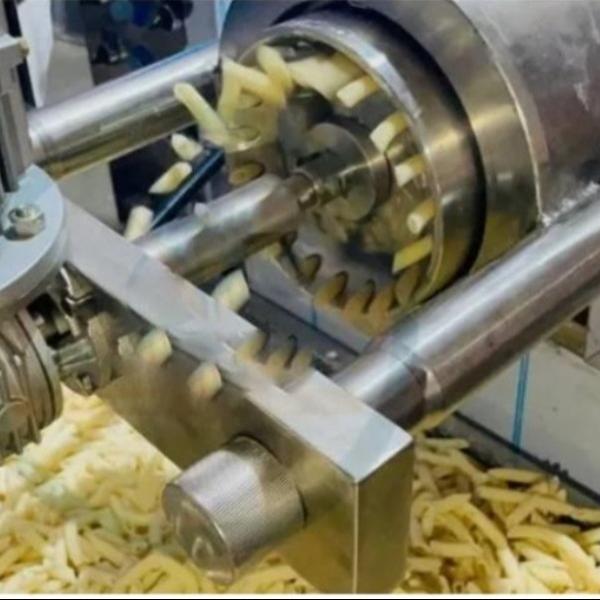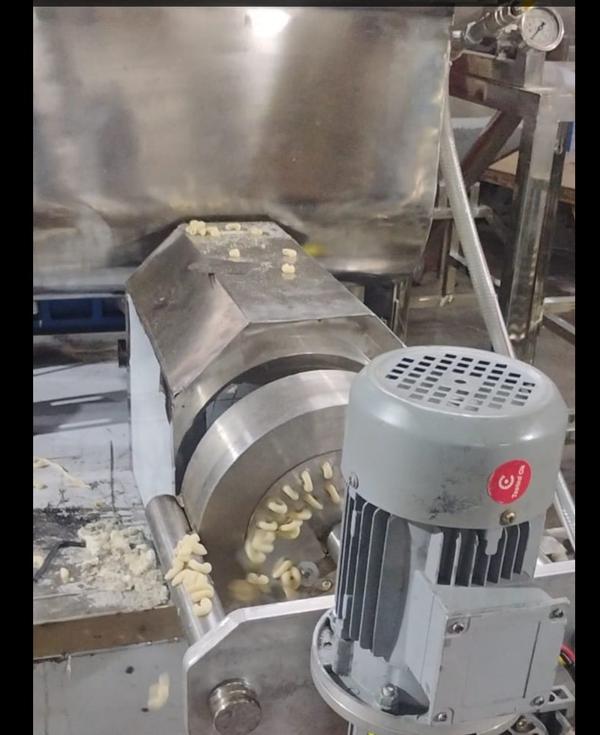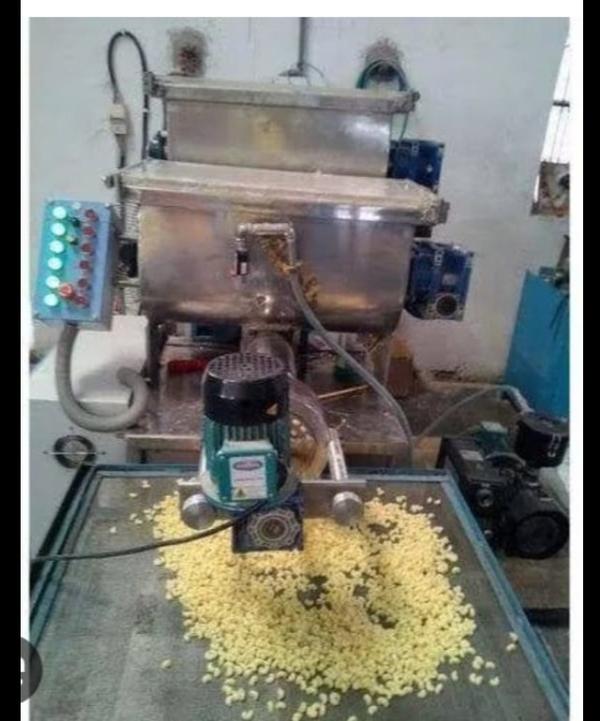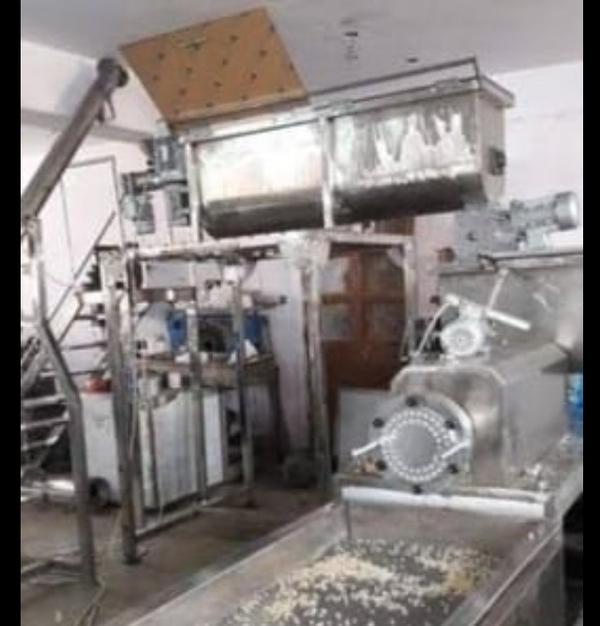

Making pasta from scratch is one of those culinary transitions that feels like moving from black-and-white to Technicolor. While a bag of dried penne is a pantry staple, the silkiness and bite of fresh egg pasta are incomparable.To achieve that professional finish, a pasta making machine is your most vital ally. Here is a deep dive into how these machines work, the different types available, and how to master the art of the noodle.1. Why Use a Machine?Technically, you can make pasta with a rolling pin and a knife (pasta al mattarello). However, a machine provides two things a human hand struggles to maintain: uniformity and transparency.To get pasta thin enough to see light through—essential for delicate ravioli or linguine—the dough must be compressed with immense, even pressure. A machine ensures the dough is exactly the same thickness from end to end, which is crucial for even cooking.2. Types of Pasta MachinesBefore you dive into the flour, you need to know which 'engine' is powering your kitchen.Manual Crank Machines (The Classic)The quintessential Italian pasta machine. It clamps to your countertop and features a hand crank.How it works: You feed the dough through smooth rollers to flatten it, then move the crank to the cutting attachment.Pros: Total control over speed, highly durable, and no electronics to break.Cons: Requires two hands (one to crank, one to guide the dough), which can be tricky for beginners.Electric Roller MachinesThese are essentially manual machines with a motor attached.How it works: The motor turns the rollers at a constant speed.Pros: Frees up both hands to guide the dough. Great for large batches.Cons: Can be noisy and more expensive than manual versions.Automatic Extruder MachinesUnlike rollers that create flat sheets, extruders push dough through a 'die' (a shaped disc) to create shapes like rigatoni, fusilli, or spaghetti.How it works: You often just dump flour and eggs into a mixing chamber, and the machine mixes, kneads, and pushes the pasta out.Pros: The only way to make tubular pasta shapes. Extremely fast.Cons: Less 'soul' in the process; the texture is often denser than rolled pasta.3. The Anatomy of a Pasta RollerMost manual and electric rollers consist of two main parts:The Smooth Rollers: These have adjustable settings (usually numbered 0 through 9). '0' is the widest gap for initial flattening, while '9' is paper-thin.The Cutters: Most machines come with a dual attachment for Fettuccine (wide) and Tagliolini (thin).4. The Golden Ratio: The DoughThe machine is only as good as the dough you feed it. The standard Italian starting point is:100g of Flour (ideally Type 00 or a mix with Semolina)1 Large EggThe Process:The Well: Create a mound of flour, make a deep hole, and crack the eggs into it.The Fork: Gradually whisk the eggs, bringing in flour from the inner walls until a paste forms.The Knead: Once it's a shaggy ball, knead it by hand for 10 minutes. It should feel like play-dough—firm, smooth, and elastic.The Rest: Crucial. Wrap the dough in plastic and let it sit for at least 30 minutes. This relaxes the gluten so the machine doesn't 'snap' the dough back.5. Step-by-Step: Using the MachineStep 1: PreparationDust your workspace and the machine with a little semolina flour. Cut your rested dough into four manageable pieces. Keep the pieces you aren't working with covered so they don't dry out.Step 2: The Initial Pass (The 'Lamination')Set your machine to the widest setting (0 or 1). Flatten your dough piece with your palm and run it through. Fold the resulting rectangle into thirds (like a letter), rotate it 90 degrees, and run it through again. Repeat this 3–4 times. This 'laminates' the dough, ensuring a silky texture.Step 3: The ThinningMove the dial to the next setting. Run the dough through once. Continue clicking the dial down, one number at a time, running the dough through once per setting.Tip: Do not skip numbers! If you go from 2 to 5, you risk tearing the dough or jamming the gears.Step 4: The CutOnce you reach your desired thickness (usually setting 6 or 7 for fettuccine), move the handle to the cutter attachment. Feed the sheet through while catching the noodles with your other hand or a 'pasta rake.'6. Maintenance and CleaningThe Golden Rule: Never use water.
Water causes flour to turn into glue inside the gears, which will eventually seize the machine.To clean: Use a dry pastry brush to flick away excess flour.The 'Sacrificial Dough': If the machine is new or has been sitting for a while, run a small piece of scrap dough through every setting and cutter. This picks up any grey factory grease or old dust. Throw this piece away.7. Troubleshooting Common IssuesProblemCauseSolutionPasta is sticking/clumpingDough is too wet.Dust the sheets with more flour before cutting.Rough, 'shredded' edgesDough is too dry or wasn't kneaded enough.Laminate more on the widest setting; add a drop of water.Dough won't go throughThe piece is too thick for the setting.Flatten it more by hand or go back to setting 0.Machine is squeakingLack of lubrication.A tiny drop of food-grade mineral oil on the outer gears.8. Taking it to the Next LevelOnce you've mastered the basic fettuccine, you can use the flat sheets for:Ravioli: Dollop filling on a sheet, cover with another, and press out the air.Lasagna: Fresh sheets don't need pre-boiling if your sauce is slightly wet.Laminating Herbs: Place parsley leaves between two thin sheets of dough and run them through the machine again to 'print' the herbs into the pasta.Making pasta is a rhythmic, tactile experience. It turns a simple dinner into a craft. Whether you're using a hand-cranked Atlas 150 or a high-tech extruder, the result—that perfect, al dente bite—is worth every turn of the ha